Add Picture object to the label
•Select Picture object ![]() from the toolbar.
from the toolbar.
•Point the location in the label where you want the Picture to be placed. Click the left mouse button and drag the cursor until space for the Picture is created in the label.
Double-click the Picture created in the label to Select Image Path and to modify the Picture Properties, as shown in window below.
Picture Properties
General Settings tab includes:
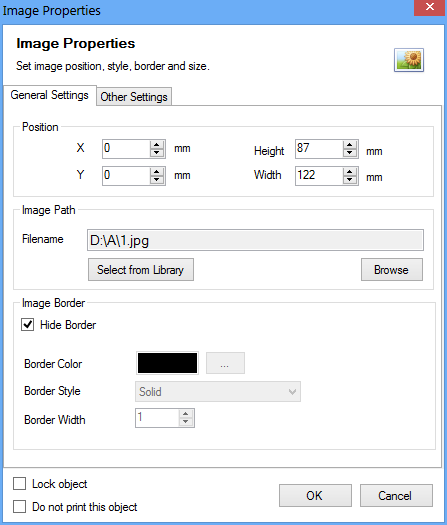
Position
•Set the Position where Image to be placed in the label (with respect to X, Y co-ordinates).
•Set the Height and Width value of Image.
Select Image Path
•Click 'Select from Library' button to select image from library.
•Click 'Browse' button to select image path.
Border
•Hide Border - Select to hide Image Border.
•Border Color – Select the Border Color of Image.
•Border Width – Set the Width of the Image Border.
•Border Style – Select the Border Style of Image.
Other Settings tab includes:
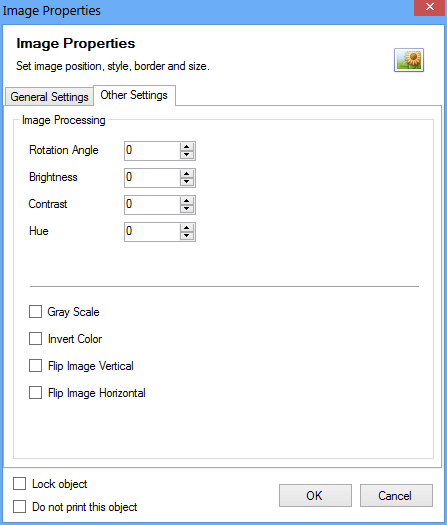
Image Processing
•Rotate Angle – Set the Width of the Image Border (It gives you option to Rotate image to any degree).
•Brightness – Set the Brightness of the Image.
•Contrast – Set the Contrast of the Image.
•Hue – Set the Hue of the Image.
•Gray Scale – Set the Gray Scale of the Image.
•Invert Color – Select to Invert Image Color.
•Flip Image Vertical – Select to Flip Image Vertically.
•Flip Image Horizontal – Select to Flip Image Horizontally.
Note
Preview – Software feature to preview created Picture in preview section.
Lock Object – Select to Lock the Picture object while designing label (It gives you option to lock the movement of the Picture object).
Do not print this object – Select to not print Picture object while printing designed label.
Click “OK” button to apply the settings.