When you run the software, the initial screen as shown in the figure below will appear.
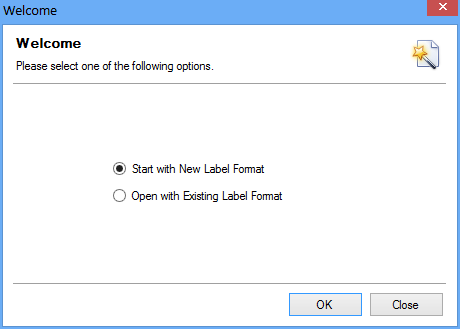
It includes following options to select and create label format:
•Start with New Label Format (This option is used to start creating label with new label format)
•Open with Existing Label Format (This option is used to start creating label with existing label format)
Select one of the following option and click on ‘OK’ button.
|
On selecting ‘Start with New label Format’ option, the following screen as shown in the figure below will appear.
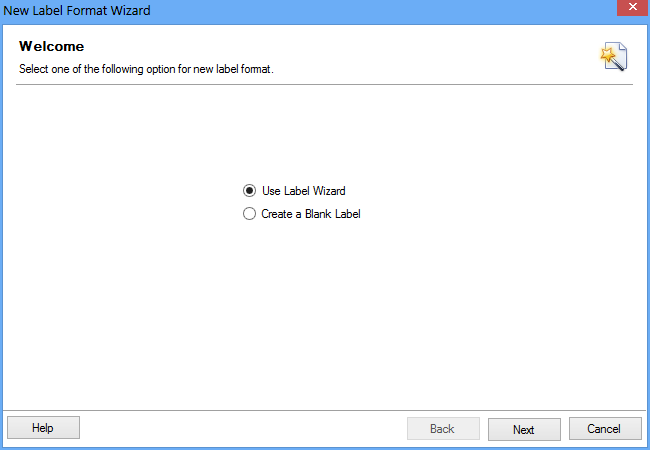
Select one of the following option for new label format.
•Use Label Wizard (This option is used to start creating label by using wizard format)
•Create a Blank Label (This option is used to start creating label with blank format)
Click ‘Next’ button to continue.
Steps to create label by using wizard
Step 1
On selecting ‘Use Label Wizard’ option, the following screen as shown in the figure below will appear.
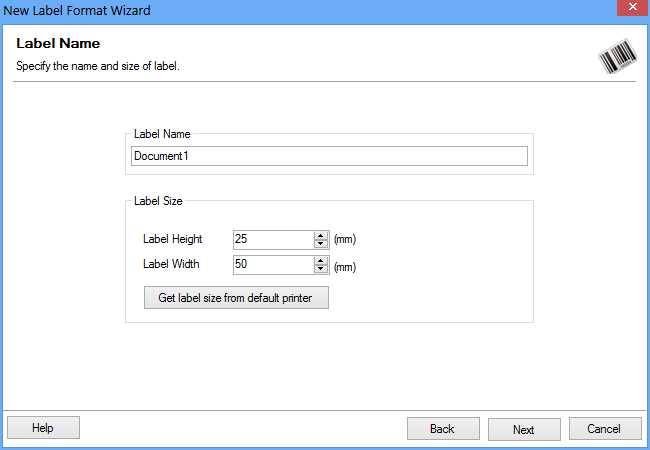
•Specify the Label Name.
•Specify the label Size. (Label Height and Label Width)
•Click on Get label size from default printer button to get label size from printer.
Click ‘Next’ button to continue.
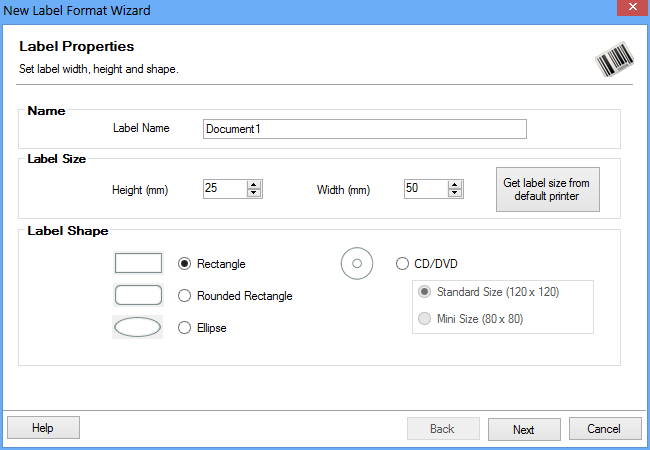
Step 2
On clicking ‘Next’ button, the following screen as shown in the figure below will appear.
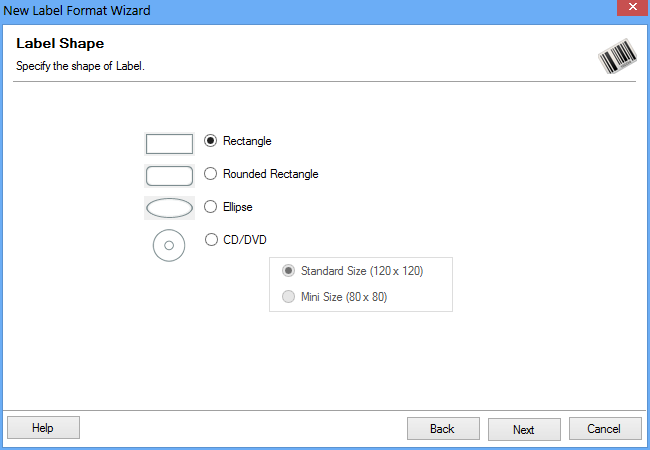
Specify the shape of Label from following options:
•Rectangle
•Rounded Rectangle
•Ellipse
•CD/DVD (Select the CD/DVD size)
oStandard Size
oMini Size
Click ‘Next’ button to continue.
Step 3
On clicking ‘Next’ button, the following screen as shown in the figure below will appear.
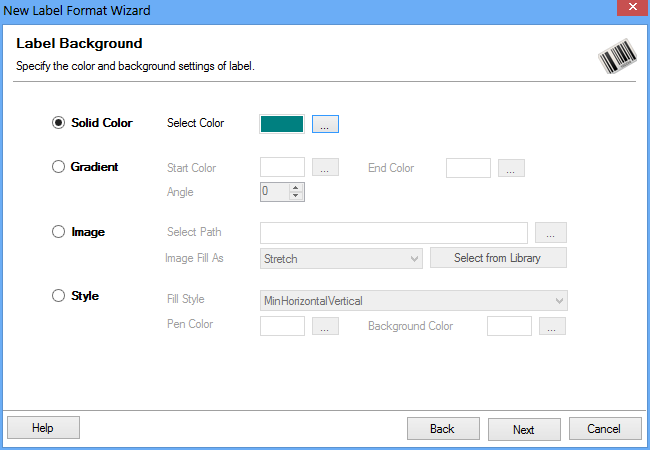
Specify the color and background settings of label including:
•Solid Color – Specify the Solid Color to fill label region.
•Gradient – Select the Start and End Color to fill Gradient region.
oAngle – Select the angle of gradient region.
•Image – Click "Browse" button to Select Image Path.
oImage Fill As – Select the image position style.
oSelect from Library – Select the image from Library
•Style – Select the Fill Style to fill Label region.
oPen Color – Select the Pen Color.
oBackground Color – Select the Background Color.
Click ‘Next’ button to continue.
Step 4
On clicking ‘Next’ button, the following screen as shown in the figure below will appear.
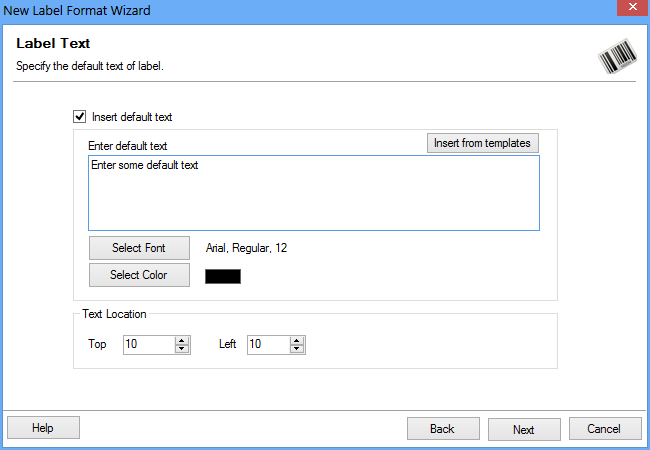
Specify the text feature of label including: (This is optional feature)
•Select to add ‘Text Feature’ while label creation.
•Add text in ‘Enter Text’text field area.
•Select text font on clicking ‘Select Font’ button.
•Select text font color on clicking ‘Select Color’ button.
•Select text location by specifying ‘Top’ and ‘Left’ margins.
Click ‘Next’ button to continue.
Step 5
On clicking ‘Next’ button, the following screen as shown in the figure below will appear.
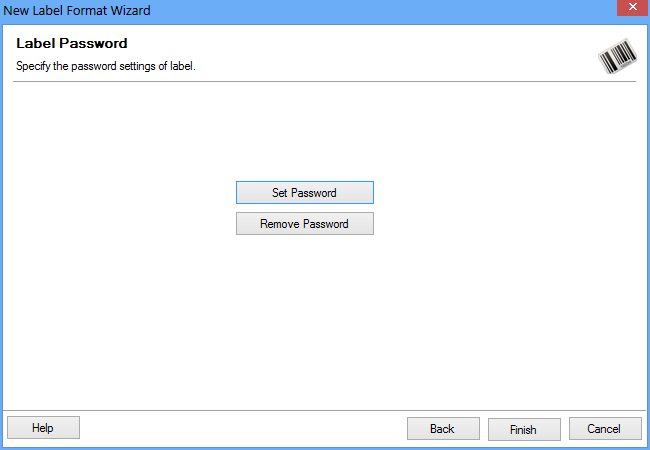
Set a password for the label. (This is optional feature)
Click ‘Finish’ button to continue.
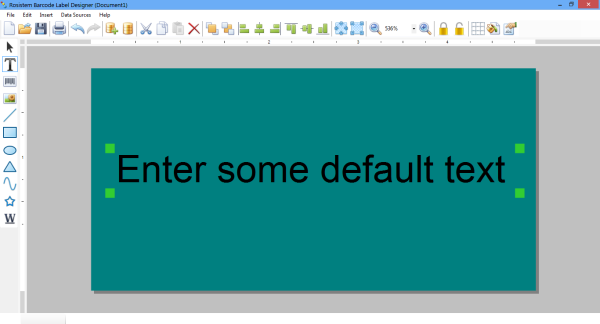
Step 6
On clicking ‘Finish’ button, the following screen as shown in the figure below will appear.
Steps to create label with Create a Blank Label.
Step 1
On selecting ‘Create a Blank Label’ option, the following screen as shown in the figure below will appear.
•Specify the Label Name.
•Specify the Label Size that includes Label Height and Label Width.
•Specify the Label Shape from following options:
oRectangle
oRounded Rectangle
oEllipse
oCD/DVD (Specify CD/DVD size)
▪Standard Size
▪Mini Size
Click ‘Finish’ button to continue.
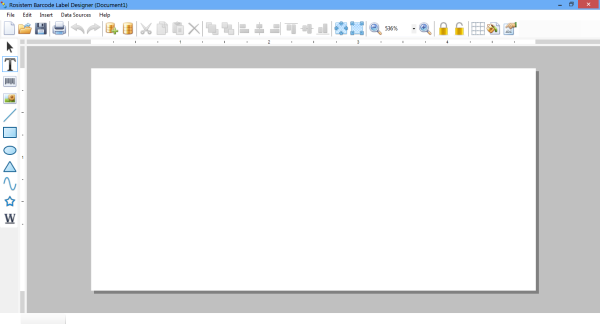
Step 2
On clicking ‘Finish’ button, the following screen as shown in the figure below will appear.
|
Open with Existing Label Format
On selecting ‘Open with Existing Label Format’ option, the following screen as shown in the figure below will appear.
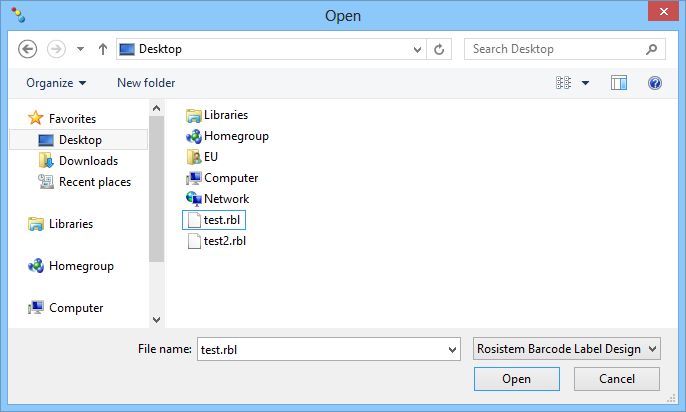
Browse and select the existing label and click on ‘Open’ button to open an existing label format