Add Start object to the label
•Select Star object ![]() from the toolbar.
from the toolbar.
•Point the location in the label where you want the Star to be placed. Click the left mouse button and drag the cursor in the label until an Star is created.
•Star appears on the label.
Double-click the Star object created in the label to modify the Star Properties as shown in window below.
Star Properties
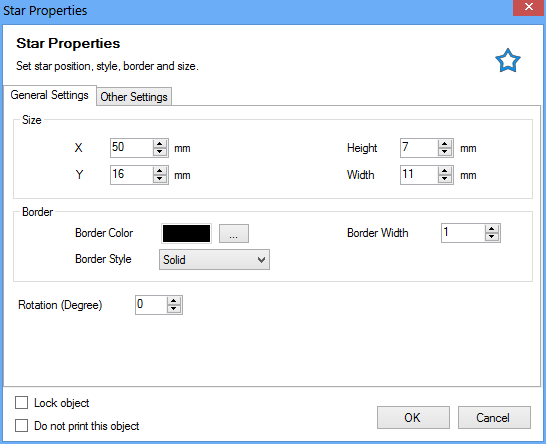
Star Properties includes following options:
Size
•Set the Size where Star to be placed in the label (with respect to X, Y co-ordinates).
•Set the Height and Width value of Star.
Border
•Border Color – Select the Border Color of Star.
•Border Style – Select the Border Style of Star.
•Border Width – Set the Width of the Star Border.
Fill Option
•None – Select to not fill color in Star object.
•Fill Color – Select the Color to fill Star region.
•Fill Gradient – Select the Start and End Color to fill Gradient region.
oAngle – Select the filled Gradient Color Angle.
•Fill Style – Select the Fill Style to fill Star region.
oPen Color – Select the Pen Color.
oBackground Color – Select the Background Color.
•Set Transparency – Set the value of transparency as per your requirement to make the Star object transparent.
•Rotation Degree – Set the Star object rotation degree.
Lock Object – Select to Lock the Star object while designing label. (It gives you option to lock the movement of the Star object).
Do not print this object – Select to not print Star object while printing designed label.
Click “OK” button to apply the settings.