Add Text object to the label
•Select Text object ![]() from the toolbar.
from the toolbar.
•Point the location in the label and click where you want the Text to be placed.
•Text appears on the label.
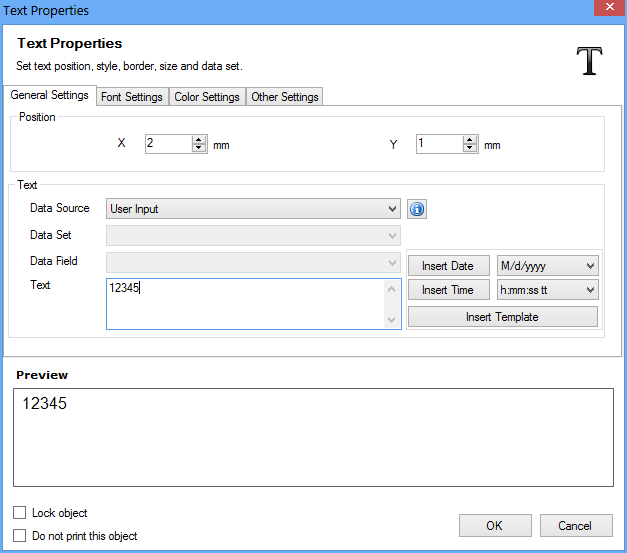
Double-click the Text object created in the label to modiy the Text Properties, as shown in window below.
Text Properties includes following tabs:
Position – Set the Position of Text (with respect to X, Y co-ordinates).
Data Source – Select Data Source either User Input or Data Set. Click here for more information.
If Data Source is selected manual enter the required text (Set Date and Time if required).
Insert Template if required on clicking 'Insert Template' button.
|
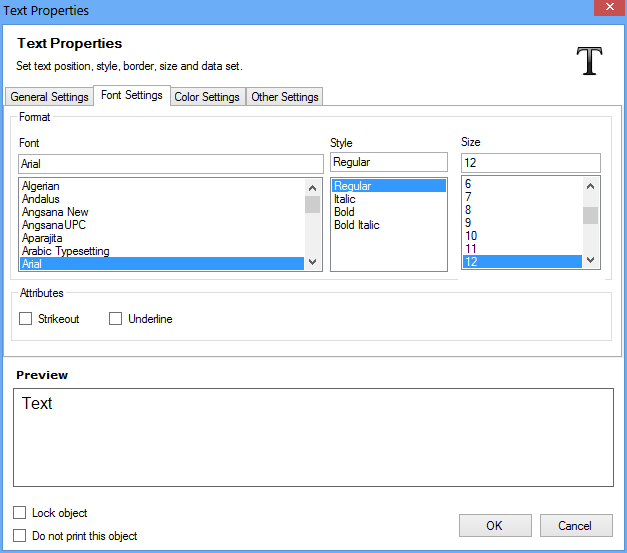
Font – Select the Font of Text.
Style – Select the Style (Regular, Italic, Bold and Bold Italic) of Text.
Size – Select the Size of Text.
Attributes – Select the Text Attributes (Strikeout or Underline).
|

Fore Color – Set the Fore Color of Text using following options:
•Solid Color (Select the Color)
•Gradient (Select the Start and End Color to fill Text Gradient region, Select the filled Gradient Color Angle)
Back Color – Set the Back Color of Text using following options:
•Set Transparent (Select to make the Text background transparent)
•Solid Brush (Select the Color)
•Gradient (Select the Start and End Color to fill Text Gradient region, Select the filled Gradient Color Angle)
|
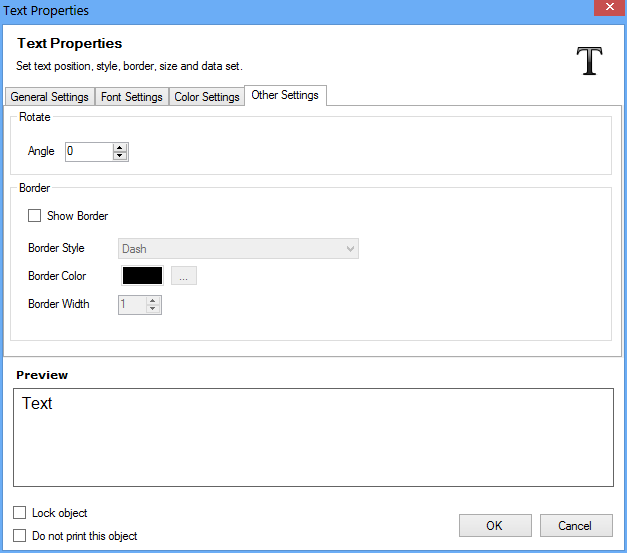
Rotate – Select the text rotation angle.
Border – Select to show text border (with option to select Border Style, Border Color, Border Width).
Note
Preview – Software feature to preview created Text in preview section.
Lock Object – Select to Lock the Text object while designing label. (It gives you option to lock the movement of the Text object).
Do not print this object – Select to not print Text object while printing designed label.
Click “OK” button to apply the settings.