The New Location screen allows you to enter a new Location for an existing site to the database. Locations are places within a particular Site where Assets reside. Typically, a Site is a building that contains one or more inventory Locations.
1.To access the New Location screen, from the Main screen, click New > Location. The New Location screen appears.
You can also access the New Location screen from the Location List by clicking the New Record button on the toolbar. For more information on using the List screens, see the Working with Lists topic.
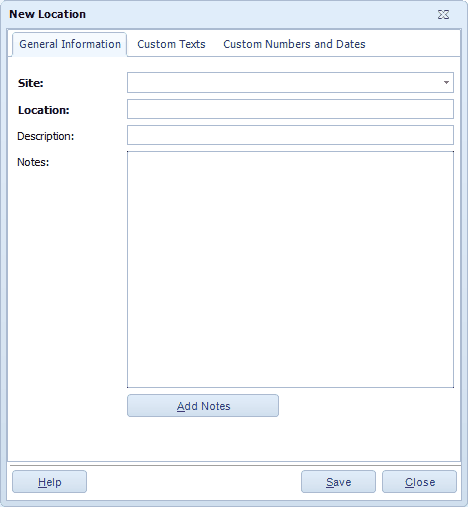
2.Enter the requested information on the screen. The Site and Location fields are required. If you enter a site that does not exist in the database, the system will ask if you want to create the new site now.
Description allows you to enter a description of the Location. This is useful when the Location value is cryptic (For example, Location "A1B2" could be described as "Aisle 1 Bin 2".)
Notes is a text field available to record any additional information you might have about this Location. Click the Add Notes button to edit the Notes field.
3.For information about the Custom Texts and Custom Numbers and Dates tabs, see Using Custom Fields.
4.When the Close New Form option is turned off: Click Save to commit your entry or click Close to exit the form.
When the Close New Form option is turned on: Click OK to commit your entry and exit the form or Cancel to exit the form without saving your entry.
![]() Users setup in the Admin Group in Security can limit use of Rosistem Assets to a single Site. See the Set Working Site help topic for more information.
Users setup in the Admin Group in Security can limit use of Rosistem Assets to a single Site. See the Set Working Site help topic for more information.