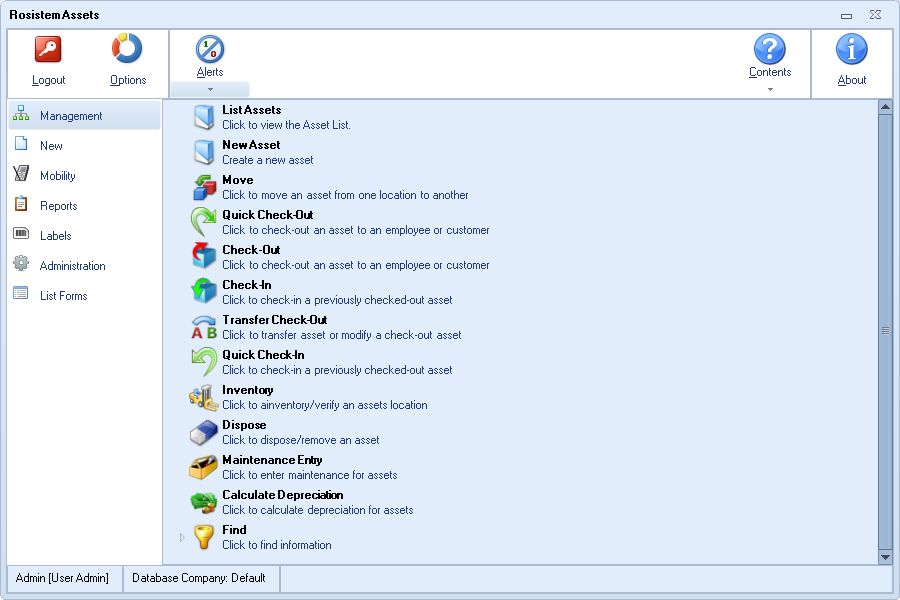
The following steps will get you started using this software both on the PC and on your mobile device(s). Click on the links provided below to see the Help topics necessary to perform each step.

1.Add Groups: User security is set up by Group. (Administration > Security > Group Manager) A Group is a collection of security settings that one or more users share.You will need to create your Groups first, then add users and assign them to Groups. Before setting up your groups, take some time to think about the types of employees you have, who will need access to the software and what features/functions they will need to use in the software. You will want to create a Group for each different type of user you may have. You may need a Group for Managers, who have access to all Sites, Reports, Auditing, etc. Another group might be Supervisors who only need access to Reports and basic functions such as check in/out, but don't need access to Auditing. A third Group may be comprised of warehouse workers who need access to the mobile devices, but don't need to be able to log on to the PC.
2.Add Users: When you first logon to Rosistem Assets you will use Admin as the user name and leave the password blank. This default user profile gives you access to everything in the system. The first step you should take upon logging in is to create additional users (Administration > Security > User Manager). You should enter all users who will be using the system and you can assign specific rights to each user that limit their activities to certain functions. You should also setup at least one additional admin user who has rights to all areas of the system.
3.Enter Company Information: Next you should enter your company's information (Administration > Company Information). On the Company Information screen you will enter your company's name and any addresses needed for receiving, shipping, corporate correspondence, etc. The company name you enter on this screen will appear on all reports and in the title bar of Rosistem Assets.
4.Create Sites and Create Locations: Now you are ready to begin entering sites and locations into the database. A site is a major classification for areas that contain assets within your company. For instance, if you have two warehouses, you might set up Rosistem Assets to have two sites: Warehouse 1 and Warehouse 2. You must enter at least one site before can add assets to your system.
Assets that you enter into your system must each be assigned to a Site and a Location within that site. Using the example above, within Warehouse 1, you might have three locations: Main Storage Area, Manager’s Office and Administrative Office. We suggest creating one site for each building that contains assets.
It is important to note that you can have the same Location code defined at more than one Site - for instance, Warehouse 1 and Warehouse 2 may each have Location codes of Shelf 1 - so always pay attention to which Site you are working with when performing transactions.
Setting up your locations now will allow you to just pick a Location from a list when you begin adding inventory later. It is possible, however, to define Locations as you add inventory. If you already have location information contained in another database, you may want to use Import function rather than manually entering in this information.
You must create a minimum of one Site, one Location at that Site.
5.Create Vendors, Create Manufacturers, Create Depreciation Classes: These are all optional features. You can manually create or import this information. It is helpful to enter this information prior to setting up your assets.
6.Create Asset Types: This is the first step in creating an Asset in the software. You must first create your Asset Types, then each asset you add to the system must be assigned to a specific Asset Type. You can think of Asset Types as a classification for assets. For instance, you may have an Asset Type of Notebook Acer E528 that defines the manufacturer, size specs, etc. of this particular type of computer. Then specific computers of the same type are assigned as assets to the Notebook Acer E528 asset type. Asset Types are created in the database using the New Asset Type screen, or you can import this information. You can then assign assets to a specific asset type on the New Asset screen.
The Asset Type defines the Description, Depreciation Class, Category, Manufacturer and Model Number of the asset.
7.Create Assets: One or more Assets can be assigned to each Asset Type. The individual assets are a unique item of a specific make and model number. Each asset is given an Asset Tag that is unique across all Sites and Locations.
8.Prepare Your Mobile Devices: Prepare your mobile device(s) for use, referring to the Quick Start Guides that accompany them.
9.Setup Your Mobile Devices following the instructions in the Working with Mobile Devices chapter.
9.a.Set up an Active Sync Partnership
9.b.Set up your Windows Mobile/CE Device
9.c.Create a Windows Mobile/CE Database
10.You are now ready to perform Asset transactions on your PC and on your Mobile Devices!