The Create New Asset Type screen allows you to enter a new Asset Type in the database. The asset type is a category for assets. Assets are assigned to a specific asset type. For instance, you may have an Asset Type of Label Printers that defines the manufacturer, size specs, etc. of this particular type of printer. Then specific printers of the same type are assigned to the Label Printers asset type.
The following topics are discussed in this section:
Accessing the New Asset Type Screen
Accessing the New Asset Type Screen:
1.To access the screen, from the Main screen, click New > Asset Type.
The New Asset Type screen can also be accessed from the Asset Type List by clicking the New button on the toolbar. For more information on using the List screens, see the Working with Lists topic.
2.Complete the information on the screen. The New Asset Type screen is divided into tabs. You can use the following links to jump to the tab of interest:
General, Attachments, Picture, Custom Fields
New Asset Type Screen > General Tab
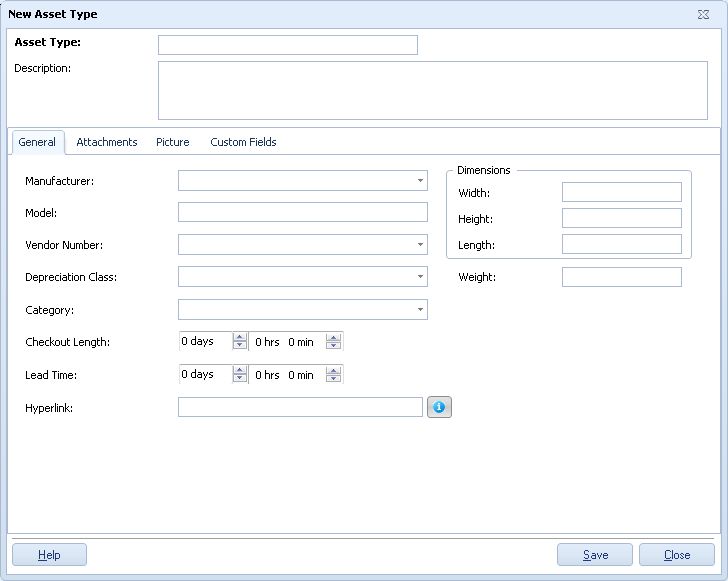
1.To create a new Asset Type, supply the required Asset Type value. All other fields, including Description, are optional.
![]() Asset Types must be unique across all Sites and Locations. A particular value can occur only once in the software database.
Asset Types must be unique across all Sites and Locations. A particular value can occur only once in the software database.
·Select a Manufacturer from the drop down list or create a new one by entering the new value and clicking OK to launch the Create New Manufacturer screen.
·Enter a Model name or number for the Asset Type.
·Select a Vendor Code from the drop down list or create a new one by entering the new value and clicking OK to launch the Create New Vendor screen.
·Select a Class from the drop down list or create a new one by entering the new value and clicking OK to launch the Create New Asset Class screen.
·Select a Category from the drop down list or create a new one by entering the new value.
·Length is the length of one unit of measure.
Width is the width of one unit of measure.
Height is the height of one unit of measure.
Weight is the mass of one unit of measure.
![]() These are text fields in which the units of measure can be specified along with the dimension or weight. (5 mm, 10 in, 3 lbs, etc.)
These are text fields in which the units of measure can be specified along with the dimension or weight. (5 mm, 10 in, 3 lbs, etc.)
·Checkout Length specifies the default period, in days, that assets assigned to this Asset Type may be Checked-Out to a Customer or an Employee. Keep in mind that you can set the check out length to only consider weekdays and the due date to only fall on a weekday on the Options screen.
·Lead Time indicates how long after an asset is received, checked in, etc. before it is available. The lead time allows time for recalibration, cleaning, etc.
·The Hyperlink field can be used to store a link to the manufacturer's website, or even to a location on your network. When a valid web address is entered in this field, the icon next to it will be enabled. Clicking the icon will open your web browser and access the website.
·If you want to search for an existing value, select <More> from that field's drop down list to open the relevant List screen. Use the vertical scroll bar to select a record from the List and click the List screen's Select button.
New Asset Type Screen > Attachments Tab
To attach an image or other documentation for this Asset Type, click on the Attachments tab:
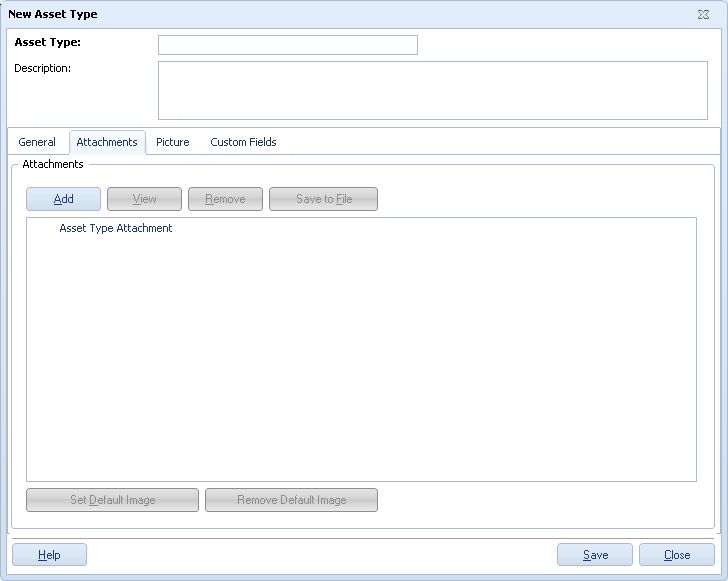
1.To add an attachment, click the Add button. A screen will appear allowing you to navigate to the desired file on your computer. Attachments are copied to the Rosistem Assets database from the external source you browse to when you click the Add button. Any change made to the external source file after adding the attachment will not update the attachment in the database. To update the database with a later version of an attached file, you must first Remove the attachment from the database, then Add the file again.
2.If you have attached an image, you can designate this the "default" image (meaning this is the image that will appear on the Picture tab) by clicking the Set Default Image button.
3.After you have added at least one file, the View button is enabled. This feature allows you to view the attached file. The File Associations defined in Windows Explorer determine which application will be started to open files, based on their filename extensions. On most machines, a PDF file would be opened by Adobe® Reader, for example. Image attachments can be viewed the same way or you can use the Picture tab to use Asset's internal image viewer.
The Save to File button copies the selected attachment from the database to any drive and folder available on your system.
To remove an attachment, highlight it in the list and click the Remove button.
4.![]() Attachments are not actually added to the database until the OK button is clicked. You can click it at this time if you are finished adding additional information, or click it later, after you have completed information on other tabs.
Attachments are not actually added to the database until the OK button is clicked. You can click it at this time if you are finished adding additional information, or click it later, after you have completed information on other tabs.
New Asset Type Screen > Picture Tab
Click the Picture tab to view any image files that have been attached to this Asset Type.
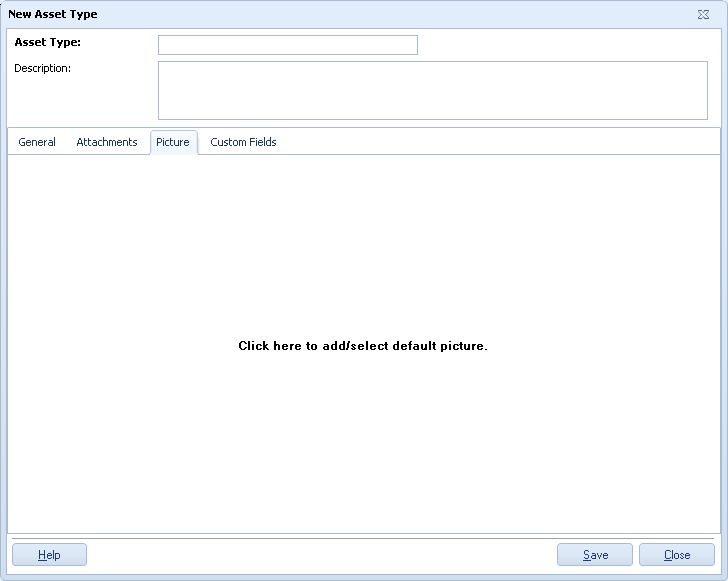
1.The current default Picture is always displayed on the Picture tab. Right click the image to see the popup Picture menu. This menu allows you to Add (a new) Image or to Select (a previously added) Image. Any image you select for display will become the new default image.
![]() The files listed in the Select Image sub-menu are a combination of Asset Type Attachment images and Asset Attachments images, sorted alphabetically, by filename.
The files listed in the Select Image sub-menu are a combination of Asset Type Attachment images and Asset Attachments images, sorted alphabetically, by filename.
2.![]() Image files are not actually added to the database until the OK button is clicked. You can click it at this time if you are finished adding additional information, or click it later, after you have completed information on other tabs.
Image files are not actually added to the database until the OK button is clicked. You can click it at this time if you are finished adding additional information, or click it later, after you have completed information on other tabs.
New Asset Type Screen > Custom Fields Tab
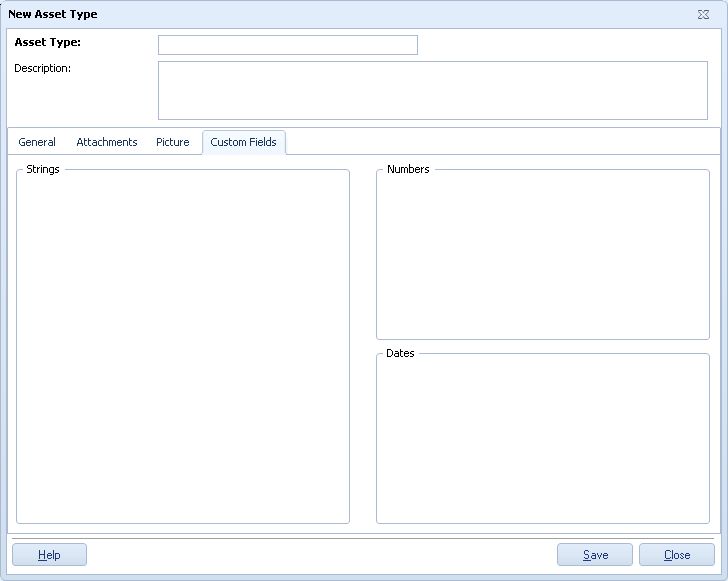
Please refer to the Using Custom Fields topic for instructions on creating custom text, number and date fields.