The Create New Vendor screen is used to enter a new vendor into the database. Vendors can be assigned to Asset Types.
1.To access the screen, from the Main screen click New > Vendor. The New Vendor screen appears.
The New Vendor screen can also be accessed from the Vendor List by clicking the New Record button on the toolbar. For more information on using the List screens, see the Working with Lists topic.
If a Vendor is also your Manufacturer for an Asset Type, it is best to define the company in the software as a Manufacturer, in addition to defining it as a Vendor.
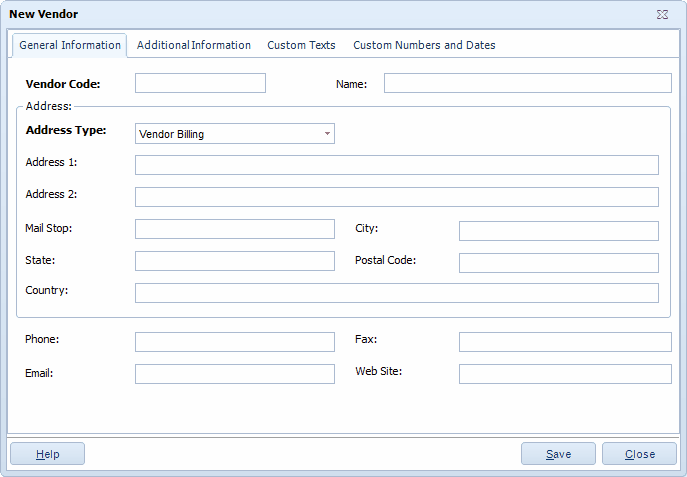
2.Enter the requested information on this screen. The Vendor Code and Address Type fields are required. All other fields are optional.
Select an Address Type from the drop down list, then provide any of the associated information you have for this Vendor: Address 1, Address 2, Mail Stop, City, State, Postal Code and Country. Address information can be entered for each Address Type you select.
Different Phone, Fax, Email and Web Site can be entered for different Address Types.
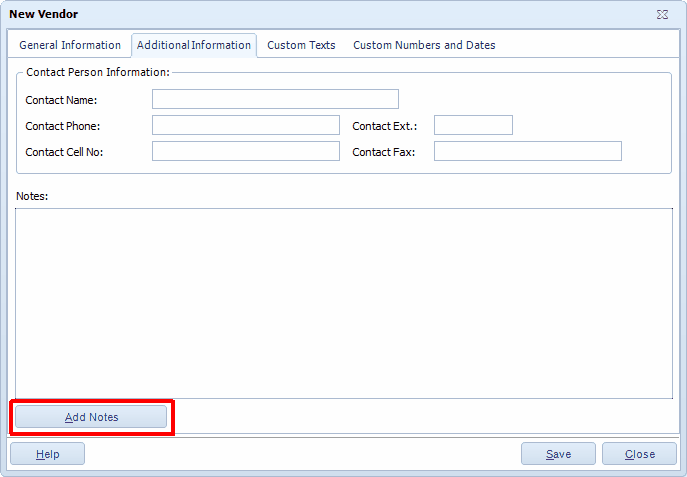
3.The Additional Information tab provides optional fields where other information about the Vendor can be recorded: Contact Name, Contact Phone, Extension, Contact Cell No., Contact Fax and Notes fields.
Notes is a text field available to record any additional information you might have about this Vendor. Click the Add Notes button to edit the Notes field.
4.You can optionally enter information on the Custom tabs. For information about the Custom Texts and Custom Numbers and Dates tabs, see Using Custom Fields.
5.When the Close New Form option is turned off: Click Save to save your entry or click Close to exit the screen.
When the Close New Form option is turned on: Click OK to save your entry and exit the form or Cancel to exit the screen without saving your entry.