The Windows Mobile/CE Setup tab of the Mobile Device Communication Wizard is the first step in setting up new mobile devices for use with Rosistem Assets. This function enables the application to "see" and communicate with the mobile device and sends the Rosistem Assets program to the device.
This function allows you to setup a connection between Rosistem Assets and your mobile device. A Microsoft ActiveSync Partnership must be established before running Windows Mobile/CE Setup in Rosistem Assets. This only has to be done once for each Windows Mobile/CEmobile device.
![]() All references to Windows Mobile also apply to Windows CE devices. See the Windows Mobile/ CE Similarity topic.
All references to Windows Mobile also apply to Windows CE devices. See the Windows Mobile/ CE Similarity topic.
1.Make sure your mobile device is connected to the PC.
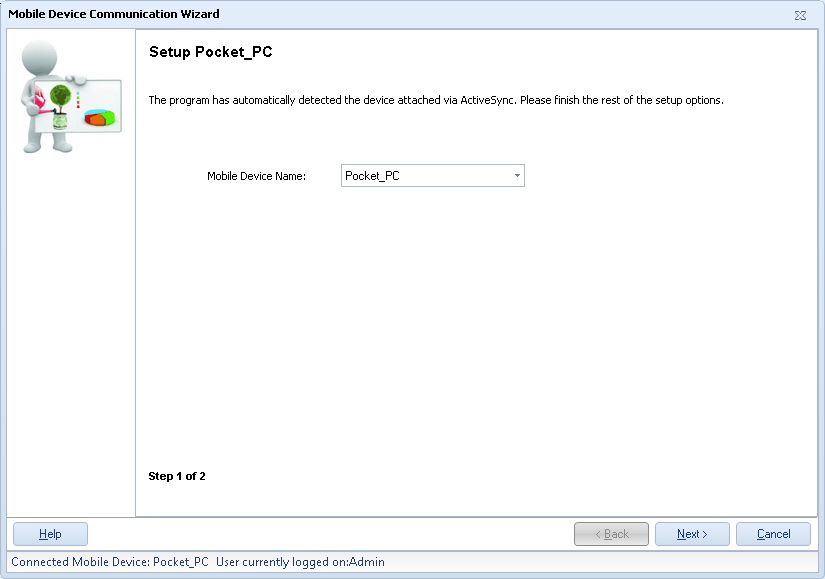
2.In Rosistem Assets, from the Main screen, click Mobility > Windows Mobile/CE > Window Mobile/CE Setup. The Mobile Device Communication Wizard will appear with the Device Setup tab displayed.
Note: If you open this screen without having your mobile device attached to the computer, a message will appear alerting you that you must first connect the device to the PC. Click the Cancel button on the screen and connect the device to your PC. The device should be turned on. Your Windows System Tray will contain a green ActiveSync ![]() icon (not gray). This indicates that your mobile device is properly connected.
icon (not gray). This indicates that your mobile device is properly connected.
3.Select the Mobile Device Name you specified when creating the New Partnership for this device.
4.Click Next after you have made your selections on the first tab. A screen similar to the following will appear:
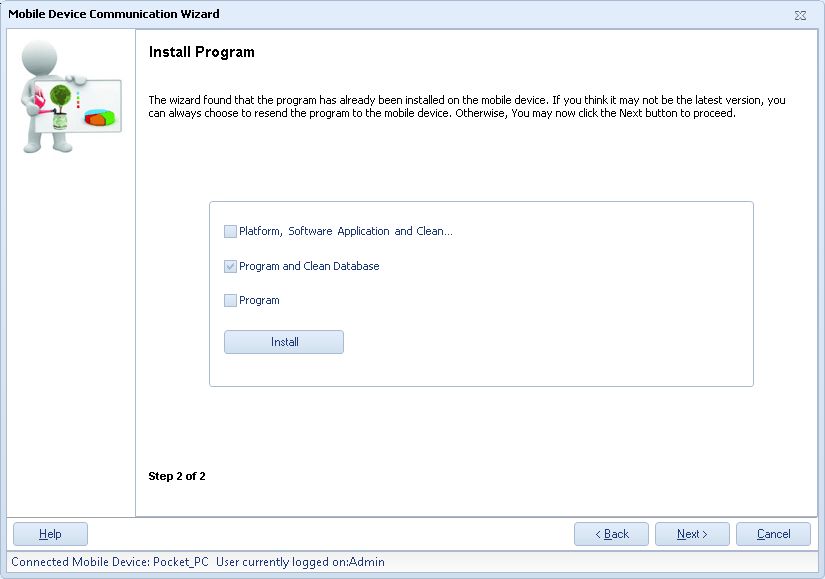
5.Read the instructions on this screen. If you are setting up the device for the first time or have just performed a "cold" reboot on the device (meaning all installed programs were deleted and you are essentially starting with a new device), select Platform, Program and Clean Database, then click the Install Programs button.
6.You may receive a message similar to the one shown below. If you receive this, click OK to continue.
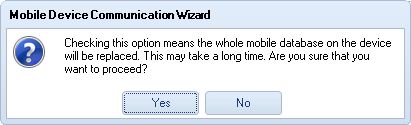
Answer Yes when you receive this prompt.
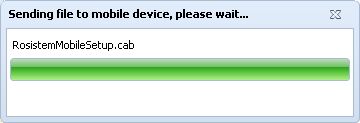
7.One or both of the following messages may appear during the installation process, depending on the type of device you have:
8.![]() IMPORTANT: On the mobile device, run Asset (Start > Programs > Rosistem Assets -or- tap the Rosistem Assets icon on the device's desktop.) When you see the Log Into Rosistem Assets screen, tap the Exit button. Please do not log on to Rosistem Assets at this point. (The app only needs to be started momentarily to complete the establishment of an ActiveSync Partnership.
IMPORTANT: On the mobile device, run Asset (Start > Programs > Rosistem Assets -or- tap the Rosistem Assets icon on the device's desktop.) When you see the Log Into Rosistem Assets screen, tap the Exit button. Please do not log on to Rosistem Assets at this point. (The app only needs to be started momentarily to complete the establishment of an ActiveSync Partnership.
9.Disconnect and then reconnect the device (by removing the cable from the device and then reconnecting it), then wait for Synchronization to complete. The device will make a noise when synchronization is completed.
10.On the PC, click the green ActiveSync icon in your system tray to open the ActiveSync window. Select Tools > Options.
11.Make sure the Synchronize mobile device clock upon connecting option is selecting on the Options screen.
12.Make sure your mobile device's clock is in the right time zone. ( On the mobile device, click Start > Settings > Control Panel > Date/Time > Time Zone to select the appropriate zone).
13.Click OK, then close the Microsoft ActiveSync screen.
14. When the Rosistem Assets program has been installed on the mobile device, click the Next > button on the Mobile Communication Wizard > Install Program tab to proceed to the Create Device Database function (only if you have populated Rosistem Assets's PC database with Asset Types, Assets, Sites and Locations) or click the Cancel button (if you are not ready to transfer a database to the mobile device).